Showing posts with label wrinkled edge ribbon. Show all posts

Monday, 1 October 2012

Twin Stags

This card was inspired by one of Sue Wilson's masterpieces which I adapted using the new Crimson Cloud Christmas stamps.


 To start, I stamped and embossed twice the stag from the Elegant Stag and Sentiment set and cut out.


 I then took a piece of card and attached to a double sided adhesive sheet, I cut the sheet to create two hill shapes and added glitter for my "snow".

Taking another sheet of white card, I embossed it with the Wild Poinsettia embossing folder


I stamped and embossed a sentiment in gold and die cut using the large star from the Spellbinders Holiday Tags die set

I then drew around the outside of the star die and cut out by hand to create a shadow for my star.

I layered up my snowy hills and poinsettia background onto an 8x8 inch card base.

The stags were attached using silicon glue to ensure a good hold on the glittered card.

I tied a bow using the Champagne coloured wrinkled edged ribbon


and decorated with the star sentiment and a button from my stash.

To complete, the outside edge of the card was decorated with the Cosmic Shimmer Golden Pearl pva glue

I hope you like my interpretation of Sue's card.
Mel xx


Pin It Now!

Sunday, 2 September 2012

Christmas Greetings from around the World


This year Crimson Cloud brought out this beautiful Language Background Stamp which says Merry Christmas in languages from all around the world from Japan to Africa - this is surely what Christmas is about?


I used it to make this scroll card here’s how:

Stamp and emboss the Language Background stamp in onto a piece of card stock much wider than the stamp with enough excess card to make the scroll ends. Age with a little of Tim Holtz’s Stormy Sky Distress Ink.  Attach Blue Wrinkled Edge Ribbon to the both ends of the card and roll the card  to create your scroll.


Glue in place with Cosmic Shimmer clear glue - you will only need to hold in place for a few seconds to allow the glue to hold.

Cut out two Spellbinders Fleur DeLis Rectangles  


and overlap and glue in the centre. This you will lay onto a piece of cardstock embossed using Creative Expressions Crackle Folder. 


This should also be ‘aged’ with Stormy Sky. 

Tap your Versamark ink pad over the scroll and rolled edges and sprinkled with some crystal embossing powder. Heat to ‘glaze’ the background sheet and highlight some of the scrolls. 

Layer up using mounting tape arrange your Blue Wrinkled Edge Ribbon and secure with Crystal Hat Pins from Creative Expressions. 


A few gem stones to decorate the glittered cardstock and you are there - your own "Starry, Starry Night".

Linda x
Pin It Now!

Wednesday, 30 May 2012

Messing with Masks - part 2


This card continues the masks theme. Although my terrible photography does not show it, the glittered background is made using the Dragonfly mask.


To make, take your card blank and matt and layer two coordinating sheets of patterned paper.

Cut a double sided adhesive sheet to fit 6x6 inches and peel off the cover from one side.
Lay your mask over the sheet and pour over the green glitter. Tap off the excess.
Remove the mask from the sheet to reveal the dragonflies.

Top tip - rub some soap on the back of your mask before you lay it on the adhesive sheet to stop it sticking permanently.

Pour over the pink glitter to fill in the dragonflies and tap off the excess. Matt onto some pink patterned card.

Stamp your sentiment (from the Just Rite Forever Friends set)


and die cut it with the coordinating Spellbinders Ribbon Tag


 While the card is still in the die, blend some ink around the edges. Thread through the plum ribbon


Die cut one of the Spellbinders Labels Fourteen

from patterned paper. On pink patterned paper, draw around the outside edge of your die. Cut out by hand to create a "faux nestie".

Matt and layer onto your glittered back ground using the Cosmic Shimmer clear glue to give a strong hold.
Layer your sentiment and ribbon on top, wrapping the ribbon behind your glittered background.
Die cut some leaves from the Spellbinders Foliage set


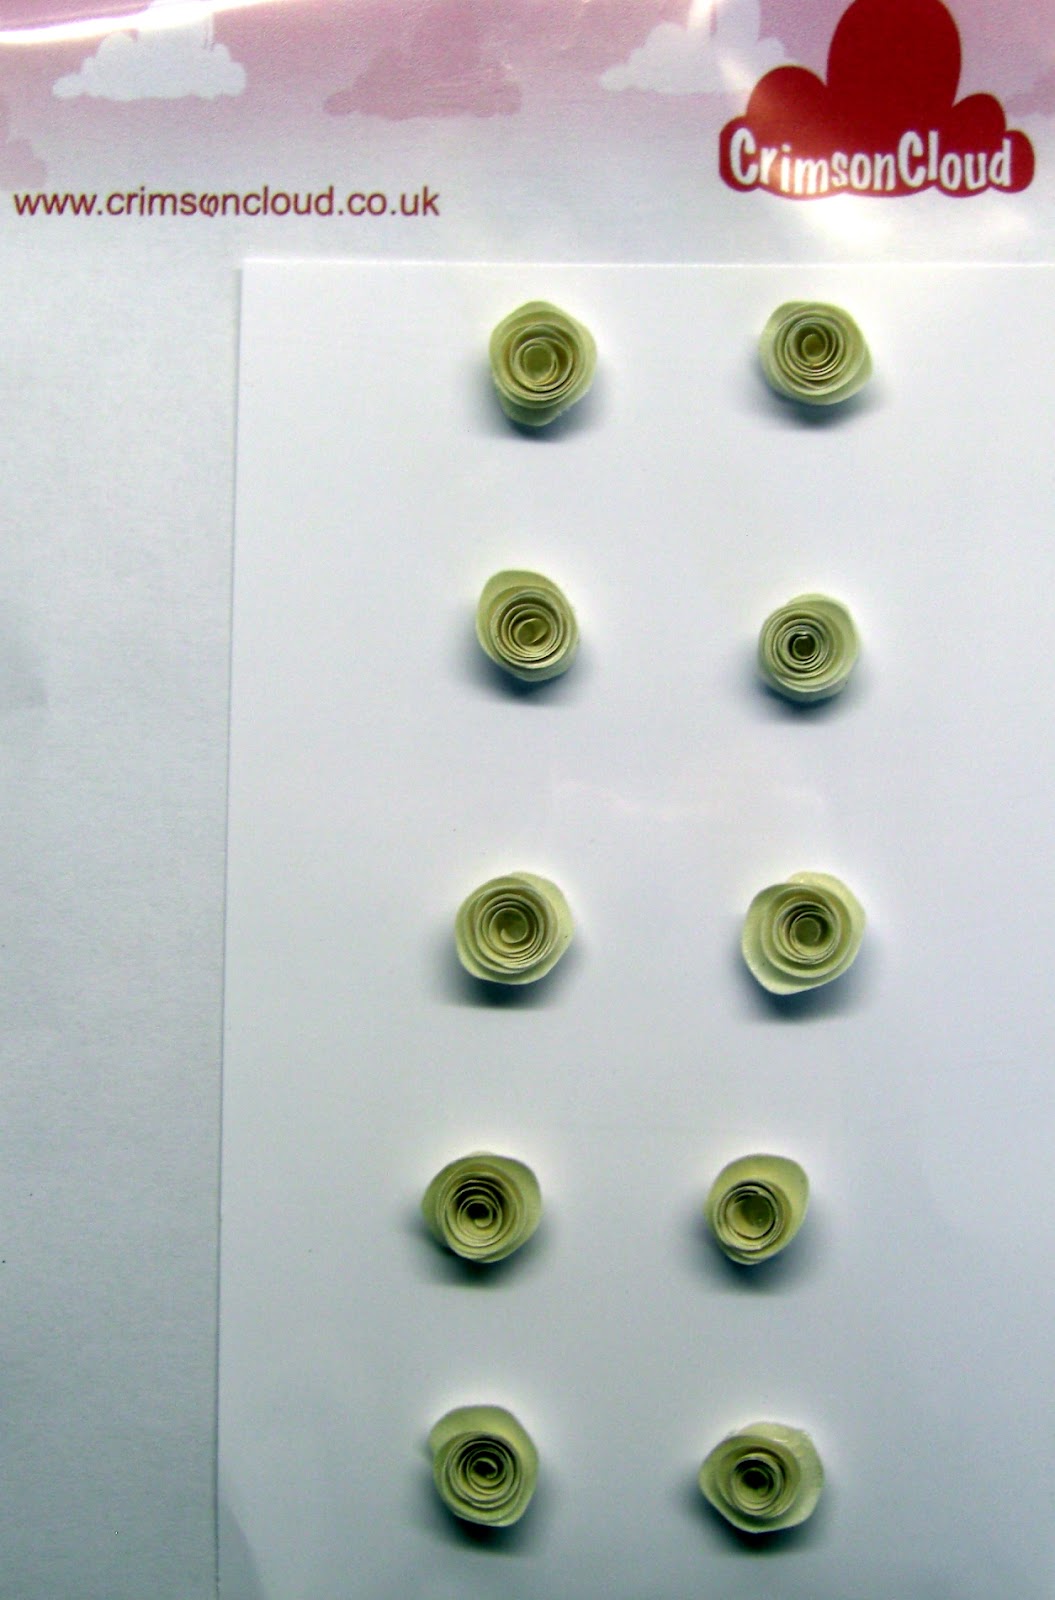
 and use to embellish the sentiment with the Crimson Cloud paper roses.

Die cut two Spellbinders Fleur de Lis Squares


from green cardstock. Cut each square into four and tape behind your glittered topper to create an ornate border.

Matt and layer onto your card using foam pads to give dimension.


Mel xxxx


Pin It Now!

Monday, 2 April 2012

For a Swell Gal!

This month we were lucky enough to have a project printed in Craft Stamper.


We, like many people, including the movie and TV industry, seem to be fascinated with the 1920's and 1930's. This time of subtle glamour is illustrated by shows such as Boardwalk Empire and the movie "The Artist".
 After some research we discovered that although there are many "roaring twenties" stamp sets and craft products on the market, there did not seem to be any large hat stamps - so we just had to create our own range! 
 We also wanted to celebrate the language of the era and so have included some fun sentiments to coordinate with the hats. We hope you like these new stamps as much as we do - we will be adding to the range soon.


 In this project, I have tried to reflect the era in the colour tones - using muted browns and blues. I wanted the card to look vintage but not to grungy or girly. So unusually for me - no flowers, no gems and no big swirls - quite a challenge!
Mel xx
P.S. Don't forget to leave a comment on the post below to be in with a chance to win some anniversary blog candy! Pin It Now!

Wednesday, 14 March 2012

Vintage Just Rite

This card was made using the coordinating Just Rite Vintage Floral Stamps


and the Spellbinders Labels Thirteen dies
The dies have been cut out three times, inked and layered behind each other to give dimension.

I used one of the dies from Spellbinders Fancy Tags Three
behind the sentiment to give the lacy effect.

The card was finished off with some Wrinkled Edge Ribbon,

a couple of hat pins,
and some pink pearls

I hope you like this card. Using the coordinating stamps and dies really gives the card a professional finish.
Mel xxx


Pin It Now!

Sunday, 8 January 2012

The Happy Couple

With Valentine's Day just around the corner, I made this card for the Gallery of the February edition of Craft Stamper - which is out now.

To create this card, stamp image using Penny Black's Bride and Groom

 and die cut with Spellbinders Heart Squares:


Create a “faux nestie” to back onto your image by drawing around the die and cutting out.


Stamp the image again onto patterned papers. Cut out the bride's dress and the groom's suit and attach to the original stamped image. Colour the remaining parts of the image.


To create a patchwork background, cut three sheets of patterned paper into 1 inch strips. Attach these side by side lengthways onto an A4 adhesive sheet. Turn the sheet 90 degrees and cut into one inch strips - so each strip has a column of 1 inch squares. Peel of the backing of the adhesive and stick the strips onto a piece of card. You can adjust the position of the strips to create a pattern you like.


Decorate with bow created using Creative Expressions Red Wrinkled Edge Ribbon,


Creative Expressions Crystal Hat Pins,


and button made using a Martha Stewart Embossed Button Punch


punched from patterned paper.


Matt and layer your image. 


Die cut another Heart Square from red card, cut into 4 to create corner accents. Use the “waste” hearts to decorate the edges of the card.


For a final decorative edge, use CosmicShimmer Teal Sky Pearly PVA Glue


 to make faux pearls.


Why not try making a patchwork sheet to give a new look to your projects?
Mel xx Pin It Now!

Saturday, 7 January 2012

Handbags Galore!


We are sponsoring the “Allsorts” blog challenge this week - the theme is “Paper Piecing” and is the inspiration behind this project.


Handbags Galore, every girlie girl's dream. Except this time it is the range of Creative Expressions stamps and sentiments we have used to create this very cute card, resisting of course the instinct for pink!


The Foundations paper range ‘dots and stripes’ also helped not to overdose on the girly part.

Spellbinders Nestabilities Twisted Metal Tags and Accents create some interest in the corners. 


Along with the Spellbinders Heart Squares providing the layers as background for the purses. 


We also used the Spellbinders Ribbon Tags Trio

to stamp the sentiment and tied with the beautiful Creative Expression Wrinked Edge Ribbon in white:


For the finale we used our own Crimson Cloud Black Roses


Good luck and remember we would love to see and comment on your interpretations.
Mel xx
Pin It Now!

Thursday, 22 December 2011

Just Rite and Spellbinders

The new range of Just Rite cling stamps with coordinating Spellbinders dies have arrived at Crimson Cloud - and we have been having some fun with them!!
This card was made using:
Just Rite Kindness Stamp Set


The second card was made using the same stamps and dies 


with the addition of Crimson Cloud hand made roses:


I hope you have fun playing with this new range too!
Mel xxxx


Pin It Now!