Showing posts with label foliage. Show all posts

Thursday, 29 November 2012

Christmas Wreath


This week we entered the Trimmies Craft Challenge blog. The challenge was to use the picture above as inspiration for a paper project.

Just for a change, I decided to make something for the home rather than a card.

Here is my interpretation -


This wreath was very quick and easy to make using the Spellbinders Fall Foliage dies


Spellbinders Foliage dies


and the twigs from the Spellbinders Cherry Blossom dies

 Once I had die cut a big pile of leaves, pine cones and twigs from green and brown card stock, I sanded them a little to bring out the embossing  and glued them onto a cardboard ring.

The bow was created using the Creative Expression Vintage Ribbon - Amber Brown and adhered with a sticky dot


I used one of the Crimson Cloud paper roses to embellish the bow and some Stickles for added Christmas sparkle.

Hope you like it!
Mel x Pin It Now!

Wednesday, 10 October 2012

Lacy Stag


I seem to have come through my minimalist period and as is typical am now travelling in the opposite direction to more and more decadent. But, hey if you can’t be decadent at Christmas when can you?


Deciding that this Christmas I would go for a glitzy but elegant feel I created this card. If you would like to recreate it, this is how:

Cut a piece of card stock 7” x 7” and cover with double sided sticky sheet and cut to the same size.

Decide what you would like to use as your ‘night sky’. I used an elaborate lacy fabric which is semi see-through so I used a matching card stock beneath it.  

You could use any fabric or a glitzy paper bearing in mind you will use it again on your stag. Now apply this to your sticky card stock and trim to tidy if necessary.

Stamp out the stag from Crimson Cloud Elegant Stag and Sentiments Set and cut it out. 


Again I used the same colour as my sky knowing I would be able to see through the fabric. Cover the cut out stag with double sided sticky sheet and your fabric or paper and cut out around the outline.

Using Spellbinders Grand Ovals Nestabilities, cut out two ovals in contrasting colours which you will arrange on your card base create the illusion of depth and forestry. 

On the larger ‘oval’ place the large leaf from Spellbinders Foliage die set only halfway over the right hand edge and cut out, keeping the cut out to use in your ‘Christmas tree’.


Cut the leaf out again in full in a contrasting colour then fix the saved half leaf into the centre with a little transparent glue and hold for a while to make sure it is truly dry then place to one side.

On the smaller oval shape that has been trimmed to your card base, emboss with a smaller leaf from your Foliage dies to give an impression of shrubbery in your forest. Now cut out the same leaf three times in the same colour and set aside.

Layer up your oval shapes with mounting tape one on top of the other. Mount your beautiful stag and fix your ‘tree’ into the cut out area and glue only the centres of your other leaves to finish your ‘bushes’.

Using the Grand Ovals cut another shape that will line up with the top of your smaller oval and stamp with ‘Joy & Peace’ from the Crimson Cloud Guardian Angel Sentiments Set


Stamp out the guiding star from the Elegant Stag Set and cut out. Heat emboss with Encore Metallic Silver pad and Cosmic Shimmer Silver Shine Embossing Powder. I embossed three times to get a really smooth and 3D look. Fix this in place with a silicone glue dot.

Finally use a few bits of the left over fabric or paper to ‘ground’ your stag and decorate. 

Attach  to a 7” x 7” white card base and you’re done.
I think it looks beautiful and I hope you do too.
Enjoy,
Linda
Pin It Now!

Saturday, 21 July 2012

Create Your Own Summer


This card is so fresh and full of the sights and colours of summer and best of all it’s easy to make.

Using the same method as our last triple easel card, you can create your own summery card just by changing the paper and dies that you use.

You will need:
1 sheet of Foundations Paper Dot and Dash in Red and White 
1 sheet of white card stock
1 sheet of red card stock
Creative Expressions- Sincere Sentiments ‘Sending you Sunshine, Laughter and Hugs’
Spellbinder Hearts Circles

Spellbinders Rose Creations

Spellbinders Fanciful Flight

Spellbinders Foliage


Brilliance Pearl Poppy Ink Pad

Crystal Embossing Powder
2 Brads of choice.

Now fold the Dot and Dash in half vertically and place the three largest dies just on the fold so that they hold together when you die cut them. 

Open your largest folded Heart circle, and score and fold one panel in half to create an easel card base - this will be the anchor for your cards.

Cut out your flowers, foliage and small butterfly from the scrap and save the little hearts that fall out from the big circle.

From the white card stock, cut out three further matching Heart Circles to mount on your folded paper ones.

Cut out the large butterfly from a piece of red card stock whilst it is in the die colour through the die the parts you would like to be white with a white pen. 

Now ink the whole die cut butterfly with Versamark and emboss with crystal embossing powder. 

Use the Pearl Poppy ink pad to stamp your sentiment onto the large white Heart Circle and mount onto the largest heart circle mini easel. 

Layer up the remaining white card heart circles onto the two smaller mini easels.

Arrange your flowers, foliage and butterflies using a brad for the centre of the larger flower before you glue and some Cosmic Shimmer Pearl to decorate the smaller butterfly.

For my last and smallest flower I used some of the scrap to die cut the smallest heart circle.

There - I told you it was easy. Enjoy!
Linda x
Pin It Now!
Friday, 20 July 2012

Fleur De Lis Butterfly triple easel


Take it from me - this intricate card is much easier to make than it looks - which of course is the secret!!!!

Take an A4 sheet of light cardstock and fold it lengthwise. Now line up three Spellbinder Fleur De Lis Squares dies (in decreasing sizes) so that they are just over the edge of the fold. This will keep them joined together when you die cut them.
Next cut the same three Fleur De Lis squares out of card stock in the same colour. Then you need to cut three plain edged squares to fit just inside. Emboss these plain squares with the Creative Expressions Flourish embossing folder and layer onto the Fleur De Lis squares.


Open your largest folded Fleur de Lis square, and score and fold one panel in half to create an easel card base - this will be the anchor for your cards. Attach your largest square to the folded panel. You have now created the first part of the triple easel.

Repeat this twice more with your two smaller sizes so that you have three mini easels in decreasing sizes.

Choose your embellishments and sentiments to decorate each of the mini easels.

My sentiment was from the Just Rite Forever Friends cling stamp set


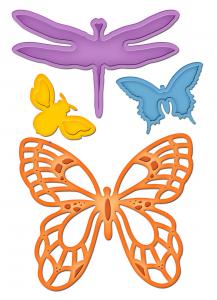
I chose the butterfly and dragonfly from the Spellbinders Fanciful Flight die set 


and the leaves from the Spellbinders Foliage die set
The little gold rose comes from a pack of Crimson Cloud Roses


Stick each easel base to the one behind lining them up as you go. With Nestabilities this is easy as they are all proportionally to scale. 

Add your embellishments and get busy with your pearly glue

to bring a little more femininity and decadence.

I hope you enjoy making this delicate and intricate card. 

Linda xxx
Pin It Now!

Tuesday, 26 June 2012

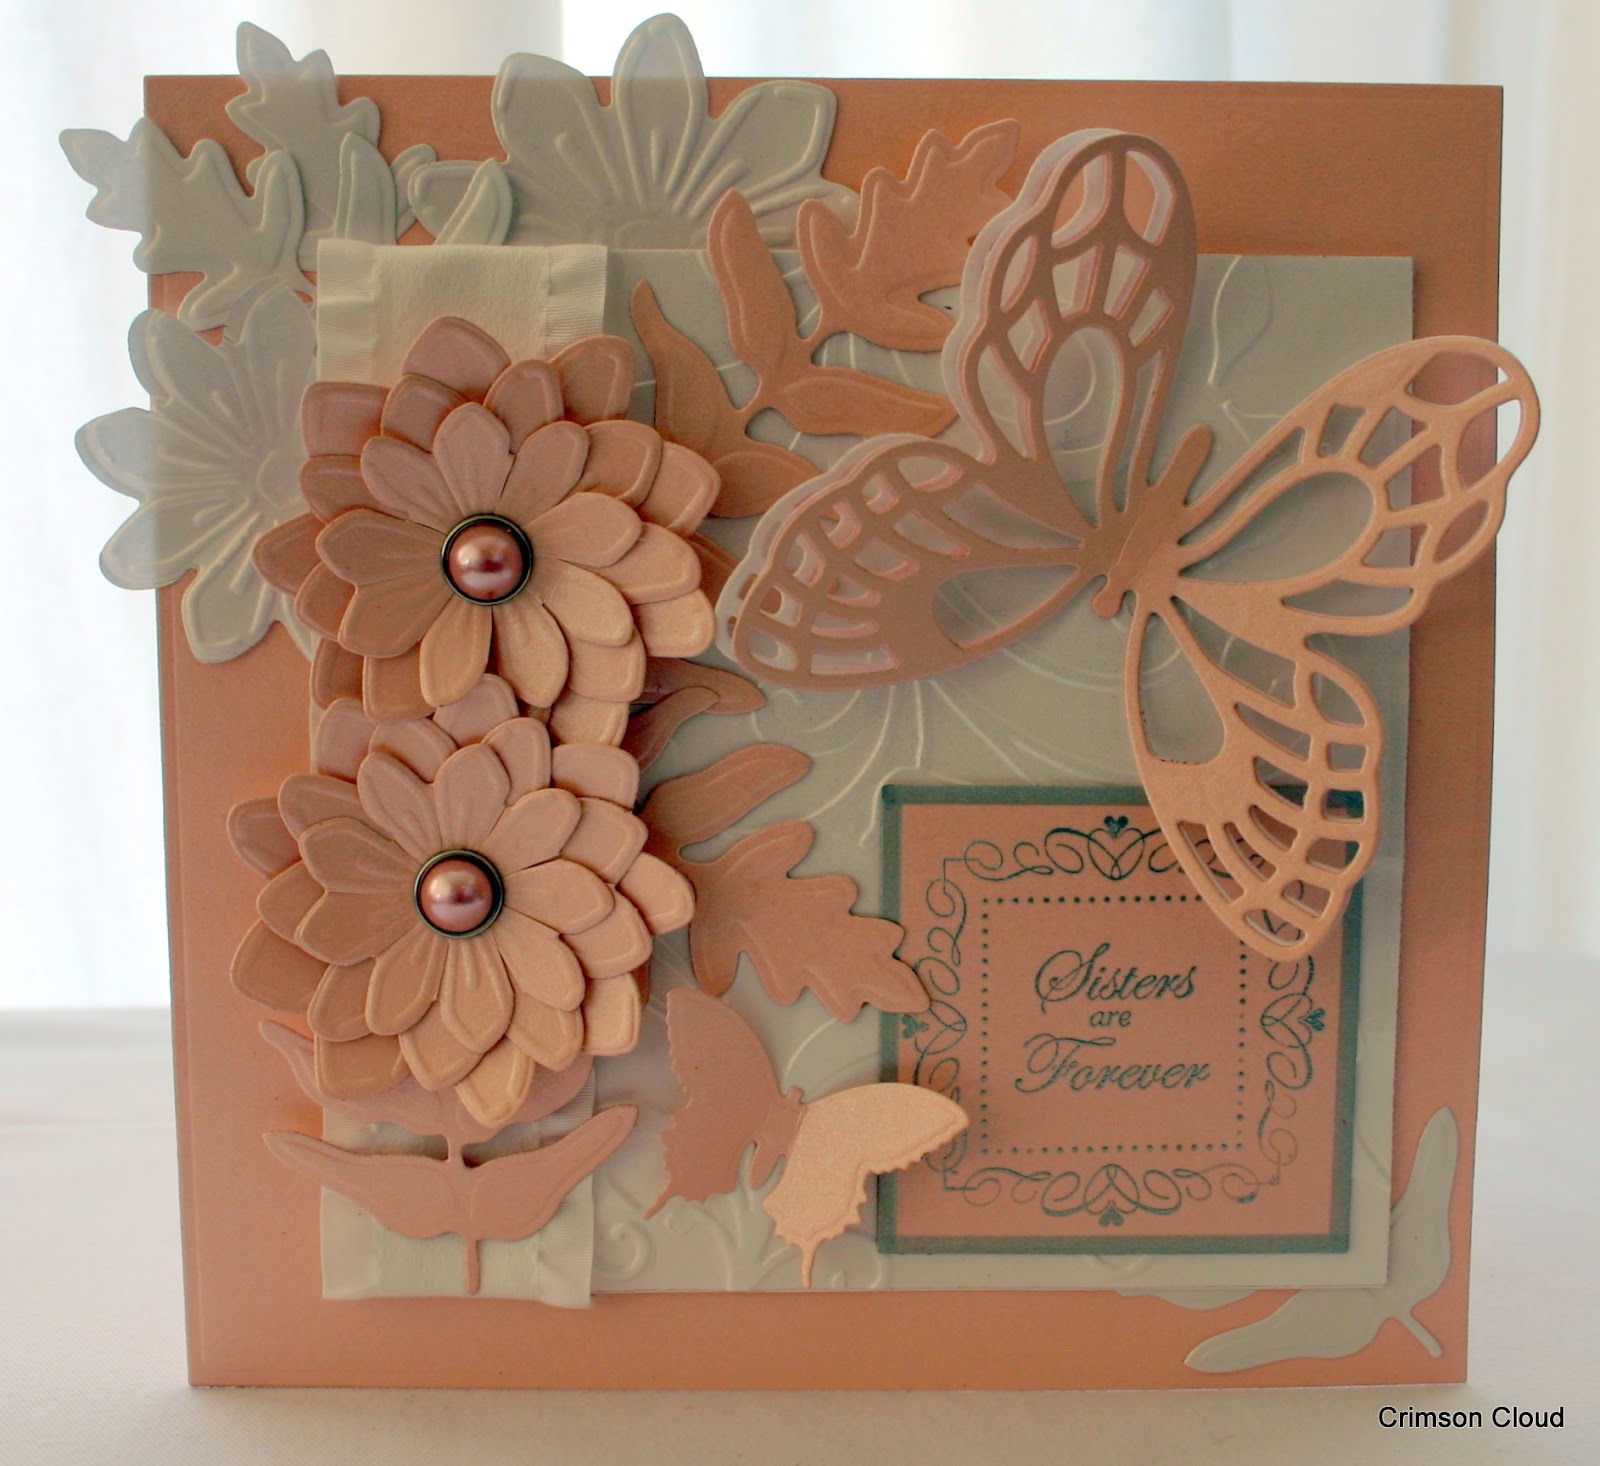
Sisters Are Forever

 All of you out there that have sisters will know how special they are and special sisters deserve special cards. A little more effort for a lifelong friend!


Here’s how:
Using Spellbinders Grand Nestabilities - Grand Squares cut out two of the largest squares in pink to make your card base.

Cut out a smaller square in white for the main panel of the card. Emboss this panel with the Creative Expressions "Flourish" embossing folder.


I have used a strip of Creative Expressions Faux Suede Ruffle Edge ribbon as a border. 


The large butterfly I cut out three times using from Spellbinders Fanciful Flight - twice in white paper and once in the pink card stock. 


One of the layers I blended with Tim Holtz Distress Ink, Spun Sugar.


When the butterflies are all fixed at the centre it gives them a 3-D effect. I then cut one of the smaller butterflies from pink card and leaves using the Spellbinders Foliage dies.


I added some die cut flowers and used my own brads for the centres - but of course you can use whatever you have to hand. 


I arranged the leaves and flowers and attached the main panel - tucking the ribbon ends behind.

Finally I cut a 2.5” square which and stamped it using the Just Rite Forever Friends stamp and frame. 


You can edge this sentiment panel with a silver pen for a framed affect. I fixed to the card and there you have it.


A very special card for a very special sister. Enjoy the card and your sister!


Linda xxxx Pin It Now!

Wednesday, 30 May 2012

Messing with Masks - part 2


This card continues the masks theme. Although my terrible photography does not show it, the glittered background is made using the Dragonfly mask.


To make, take your card blank and matt and layer two coordinating sheets of patterned paper.

Cut a double sided adhesive sheet to fit 6x6 inches and peel off the cover from one side.
Lay your mask over the sheet and pour over the green glitter. Tap off the excess.
Remove the mask from the sheet to reveal the dragonflies.

Top tip - rub some soap on the back of your mask before you lay it on the adhesive sheet to stop it sticking permanently.

Pour over the pink glitter to fill in the dragonflies and tap off the excess. Matt onto some pink patterned card.

Stamp your sentiment (from the Just Rite Forever Friends set)


and die cut it with the coordinating Spellbinders Ribbon Tag


 While the card is still in the die, blend some ink around the edges. Thread through the plum ribbon


Die cut one of the Spellbinders Labels Fourteen

from patterned paper. On pink patterned paper, draw around the outside edge of your die. Cut out by hand to create a "faux nestie".

Matt and layer onto your glittered back ground using the Cosmic Shimmer clear glue to give a strong hold.
Layer your sentiment and ribbon on top, wrapping the ribbon behind your glittered background.
Die cut some leaves from the Spellbinders Foliage set


 and use to embellish the sentiment with the Crimson Cloud paper roses.

Die cut two Spellbinders Fleur de Lis Squares


from green cardstock. Cut each square into four and tape behind your glittered topper to create an ornate border.

Matt and layer onto your card using foam pads to give dimension.


Mel xxxx


Pin It Now!