Tuesday 26 June 2012

Sisters Are Forever

 All of you out there that have sisters will know how special they are and special sisters deserve special cards. A little more effort for a lifelong friend!


Here’s how:
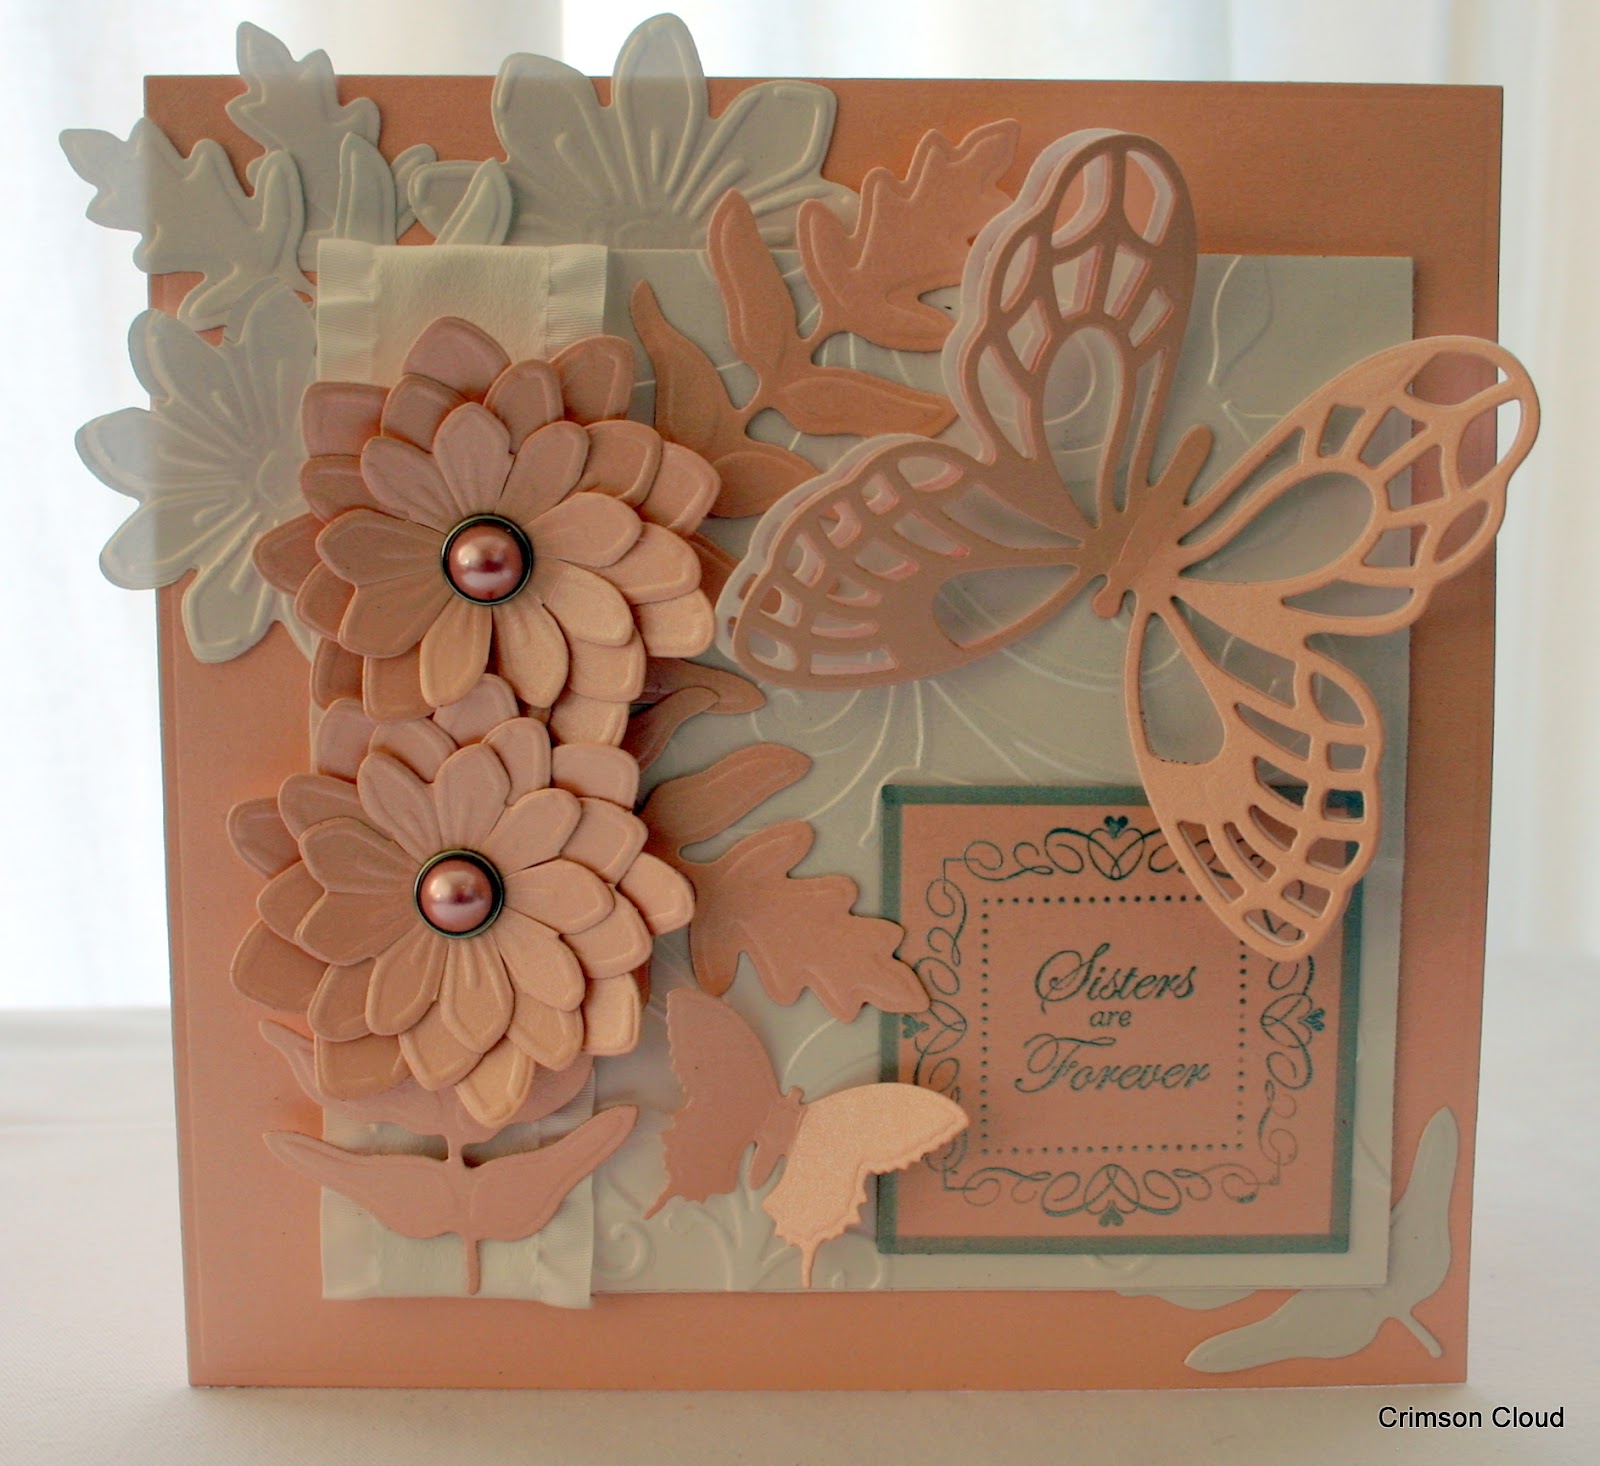
Using Spellbinders Grand Nestabilities - Grand Squares cut out two of the largest squares in pink to make your card base.

Cut out a smaller square in white for the main panel of the card. Emboss this panel with the Creative Expressions "Flourish" embossing folder.


I have used a strip of Creative Expressions Faux Suede Ruffle Edge ribbon as a border. 


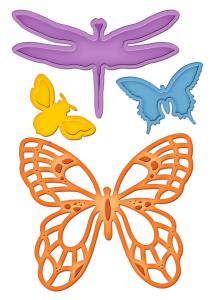
The large butterfly I cut out three times using from Spellbinders Fanciful Flight - twice in white paper and once in the pink card stock. 


One of the layers I blended with Tim Holtz Distress Ink, Spun Sugar.


When the butterflies are all fixed at the centre it gives them a 3-D effect. I then cut one of the smaller butterflies from pink card and leaves using the Spellbinders Foliage dies.


I added some die cut flowers and used my own brads for the centres - but of course you can use whatever you have to hand. 


I arranged the leaves and flowers and attached the main panel - tucking the ribbon ends behind.

Finally I cut a 2.5” square which and stamped it using the Just Rite Forever Friends stamp and frame. 


You can edge this sentiment panel with a silver pen for a framed affect. I fixed to the card and there you have it.


A very special card for a very special sister. Enjoy the card and your sister!


Linda xxxx Pin It Now!

Friday 22 June 2012

We are on hols!

Just to let you know that we will be on hols from 22nd June until 1st July. The website will still be up and running and any order placed during this time will be dispatched w/c 2nd July.
Best wishes
Mel and Linda xxx Pin It Now!

Tuesday 19 June 2012

Fairy Glade

Our new set of That Special Touch masks have arrived in stock so I have been having some fun trying them out.
The new masks in stock are:
Meadow

Penny Farthing

Songbird


Steampunk


For this project, I used the Meadow mask.

I embossed some patterned paper, and inked it with Distress Inks to highlight the embossing.

Once this was matted onto some coordinating card, I stamped the sentiment (from Just Rite Vintage Floral Labels)

and die cut it with the lacey circle from Spellbinders Moroccan Accents

After drawing around the outside of the die on green card to create an extra layer, I mounted the sentiment onto the card with foam pads to add dimension.

We have the new range of coloured American Seam Binding in stock
I used the Sea Moss to create the ribbon bow behind the sentiment.

A strip of the Sea Moss was also wrapped around the bottom of the card. I cut a strip from the Moroccan Accents border die to overlay the ribbon.

The fairy and butterfly embellishments were cut from the patterned paper pack.

I hope you enjoy the new ribbons and masks!


Mel xxx

Pin It Now!

Saturday 16 June 2012

Keep It Simple Stupid!!

This week's challenge to myself was to design a card - keeping it as simple as possible! Not the easiest thing as I do like to embellish my cards with ribbons, gems and hat pins.

As I was in a  momentary festive mood, I thought I would try my first Christmas card of the year.

I stamped out Penny Black's "Mystical" stag
Underneath the stamped image, I sprinkled some Cosmic Shimmer Persian Sea embossing powder (without using any clear embossing ink). Over the top of the embossing powder, I sprinkled a few gems, ice chips and gilding flakes.

Then - very carefully!! - I lifted the card up, making sure it stayed flat, and heated from underneath. The embossing powder melts, clings to the card and pulls in the extra gems and flakes.

Once it had cooled, I dotted some glitter glue to highlight the antlers, then doodled around the edge of the card.

I think that the decadent amount of embossing powder, gilding flakes and ice chips manages to satisfy my need for bling on a card!!

Only 49 more Christmas cards to go ;-)

Mel xxx Pin It Now!

Saturday 9 June 2012

Icecream Colours Challenge

This week we entered the Allsorts Challenge - with the theme of Ice Cream colours.
This is our entry

It is a very simple card but does use up quite a bit of card stock!

After matting and layering the coloured cardstock, I stamped a sentiment from the Creative Expressions Sincere Sentiments stamp set onto white cardstock.

 I then embossed the card with the new Couture Creations Early Songbird embossing folder


Using colours from the backing card, I coloured in the birds and swirls with Copic markers.

The card was finished with a Creative Expressions pearl swirl

- it doesn't need much else!


Mel xxx


Pin It Now!

Wednesday 6 June 2012

Lattice gatefold card


This card appears in the current issue of Papercraft Essentials.
It is quite a time consuming project, but I think the final result makes it worthwhile!

Cut a 7.5 inch square of ivory card - this is your base. Then two more pieces - 7.5 inches high x 5 inches wide - these are the front panels.

Score each panel at 1.25 inches in from one edge and fold back - these folded back strips will eventually attach to the back of the card base.

To create the centre aperture between the two front panels, lay the two pieces of card side by side and tape lightly together with removable tape. Place the large oval Spellbinders Lattice die lengthways over the join and tape down. Now run through your die cutting machine.


Repeat the same process with two pieces of patterned paper cut to fit the front panel.  Ink around the edges of the patterned paper and attach to the front of the card.

Using the mushroom coloured cardstock, die cut four Spellbinders Blossom Baubles

Roll up the centre of the flowers using a quilling tool and glue in place with Cosmic Shimmer Dries Clear Glue. Roll the petals around the centres and glue in place. You can cut out extra petals to bulk up your flowers.

Die cut your Spellbinders bird flourishes from ivory card.
Attach the flowers and flourishes with clear glue around the edge of the aperture. Fill the centre of the flowers with the Cosmic Shimmer pearly pva glue


Glue the 1.25 inch flaps of the front panels to the back of the card.

Cut your patterned paper to fit the inside of your card (about 7.25 inches square), ink around the edges and attach.

Emboss a square of mushroom coloured cardstock with the Lattice Embossing folder and attach.

Die cut the large oval Lattice die from the mushroom coloured card.

On ivory paper, draw around the outside edge of your die. Cut out by hand to create a "faux nestie" as a shadow layer.

Cut the lattice die again from patterned paper to get the centre oval from the die. Stamp with a sentiment from the Creative Expressions Everyday Expressions stamp set and layer with a large foam pad.


Have fun with this one!
Mel xxx

Pin It Now!