Showing posts with label svg. Show all posts

Friday, 9 November 2012

Christmas for Men


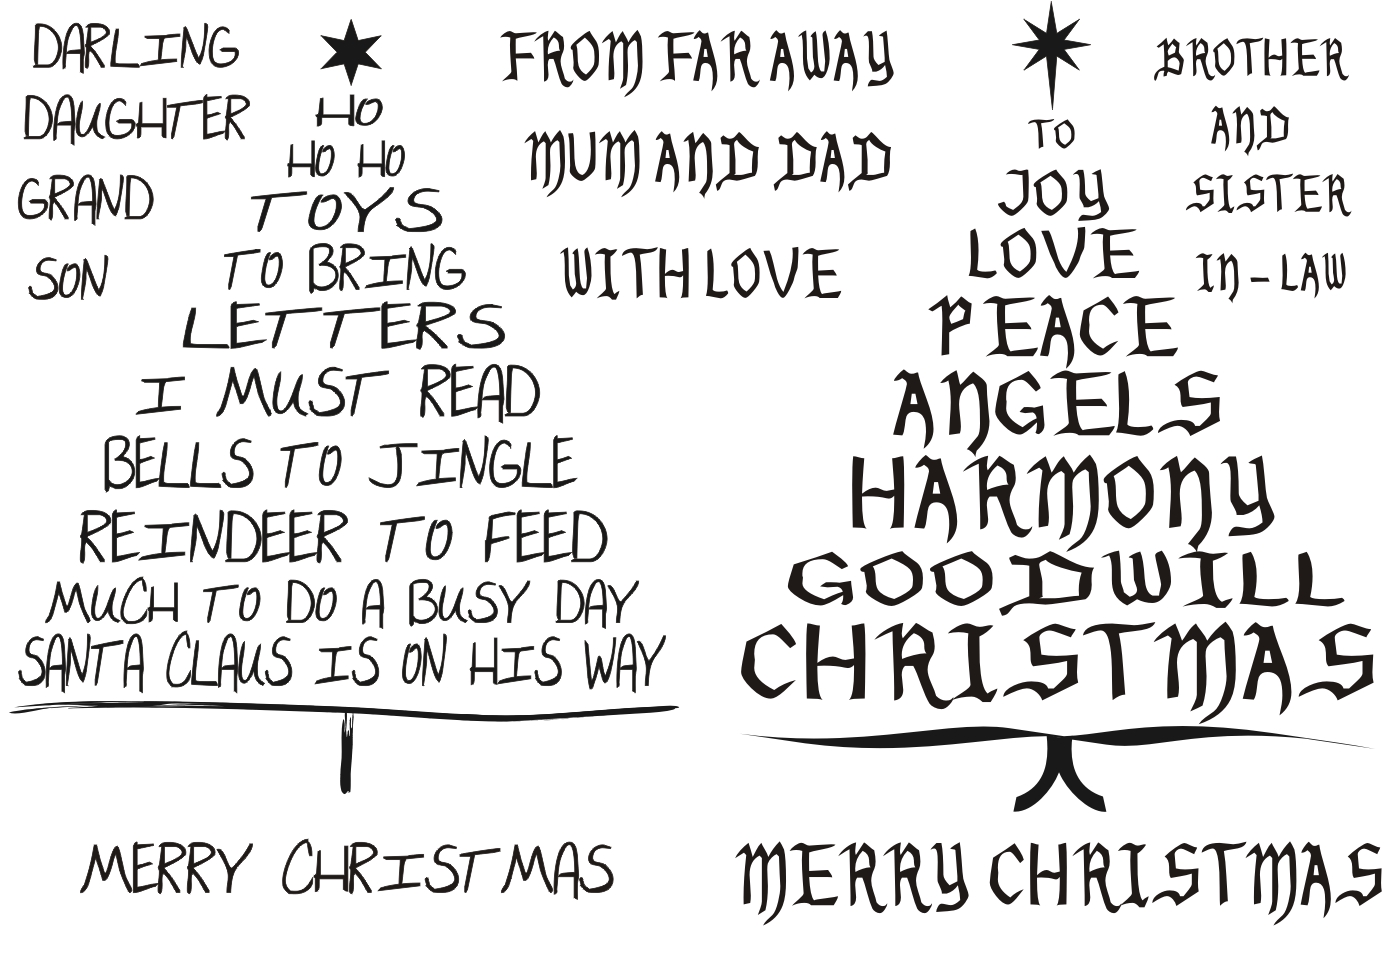
This is an option for the often "difficult to make for" men in our lives using the second tree in our Script Trees stamp set


I started by creating a card blank using red card stock.

Using patterned paper, I trimmed a sheet to fit the card blank and die cut a square aperture using the Spellbinders Grand Squares.

Using a silver coordinating card stock, I die cut another square to fit in the aperture and mounted onto the card front.

Using the free Christmas Tree SVG from Crimson Cloud I cut out 4 trees in increasing sizes. I started with 3.600” x 3.800” and increased with increments of .200” height and width. 

Recut the second and fourth tree from your pretty paper and attach to the card stock to give some substance.

I stamped by tree onto the top die cut in silver and layered up the trees using mounting tape and fixed to the front of the card.

I stamped and mounted the sentiment with foam tape for dimensions.
To finish I added a few silver gems to create a very pretty but also masculine card for a change.

Enjoy,
Linda xxx
Pin It Now!

Sunday, 4 November 2012

A letter from Santa


Children love to write letters to Santa at this time of year, but as a twist we have designed a stamp which is a note from Santa.

Using the Crimson Cloud Christmas Tree SVG which is free this month, cut out 2 trees. The first is 3.600”w x 3.800”h and the second 3.85”w x 4.050”h. 


Then using the Crimson Cloud Script Trees Stamps


and either Dew Drop memento ink pads or Tim Holtz distress ink pens, ink up your stamp. If you use the Dew Drop pads use a piece of card to protect the line of the sentiment below the one you are stamping. 

Stamp this onto your smallest tree and then colour the backing tree and mount one to the other.

Cut a square 6.25” x 6.25” from white card stock and layer up with ever increasing squares die cut using Grand Nesties Squares.

Edge each square with a different coloured line around  to co-ordinate with your choice of colours.

Glue your trees to the centre and start to play with some matching gem stones.

Mount your topper onto a colour coordinated card blank.


Stamp out the Merry Christmas Sentiment and attach to a banner of your choice which you can colour the same as the larger tree. Mount up, more gem stones and away you go.

I hope you enjoy this cute card.

Linda x

Pin It Now!

Wednesday, 5 September 2012

Joy and Peace


I think the design of this card must have been inspired by a trip to The Vatican some time ago which is actually where the little cherub on the bow comes from.

Using some of my very precious gold and silver flakes I covered a double sided sticky sheet which I fixed to an 8 x 7 card. 

Then using Crimson Cloud’s free SVG for September of the Arch Window, I cut out two arches on my Cricut - 


 scaled it to fit my Guardian Angel from the Crimson Cloud Guardian Angel Stamp Set


I stamped the smaller arch with the "Noel" stamp several times to create a background.

My Guardian Angel was stamped with Encore Ultimate Metalic Silver pad 


and embossed with Cosmic Shimmer Silver Shine Metallic embossing powder onto gold paper which I cut out carefully leaving a slight gold border to give depth. Then I layered them up using mounting tape.

I stamped the "Joy and Peace" sentiment from this set  onto a small tag using the same pad and powder. This in turn, I mounted onto a small rectangle to match the background of the arch and fixed a few metallic gems.  

With the "Glorious Christmas" sentiment also from the Guardian Angel Stamp Set I used Versamark to stamp the ribbon and embossed with the Silver Shine Metallic. Be quite quick with this as you must not let the ‘glue’ sink into the ribbon before you get the embossing powder on!


to place under my carefully draped ribbon and finally added my little cherub.

Very Vatican I thought?

Linda xx

Pin It Now!

Thursday, 9 February 2012

Elegant Evening Dress


This very elegant evening dress came about as a result of trying to design a birthday card for my daughter which would surprise her.

Running Crimson Cloud means she knows most of the tricks and all the products of the trade. So, a wee bit of a challenge!
But not to be put off I designed an SVG of a very simple evening gown on a hanger (this is our free svg of the month) -

This I covered in our little Crimson Cloud roses of the same colour -

Trimming a few of the roses to keep the hour glass shape! A little flattery goes a long way!

Having finished ‘the dress’ I needed something to hang it on and created another SVG of the Cheval mirror frame and glass -

The frame was easy just to cut out of a nice ‘woody’ colour, trim with a few cut out embellishments to create an illusion of carving. 
The actual mirror is cut from a metal craft sheet the reverse of which is shiny!! Double sided sticky paper is the easiest way to attach it convincingly to the frame.
The tiny little high heels each with a scaled down rose to match came from Cricut American Alphabet which fortunately for me came ready loaded on my new Cricut Machine.
Melanie was whisked off to Venice for a surprise birthday treat from her husband where she would have looked totally in style stepping off of a gondola in this lovely evening dress. But, unfortunately it was freezing and she had to settle for a woolly beanie hat, gloves and boots, more Benny from Crossroads than Angelina Jolie from The Tourist!!!!
Linda xxx
Pin It Now!

Wednesday, 7 December 2011

Happy New Year!


I cut the Glass out of the cricut alphabet collection preloaded on my Cricut Expression 2.
Using the negative, upside down I drew the perfect second half of the rim of the glass with my quickie glue pen. I then embossed with Cosmic Shimmer Embossing Powder “Ruby Lapis” embossing powder
 - a pretty good match for the colour card I had chosen.
Ruby Lapis -  Embossing Powder
I used the free “Happy New Year” SVG  

which I cut out in the same colour as the backing card, applied a couple of gem twizzle sticks. 

I used a few more round gems as bubbles and punched the corners with my favourite Martha Stewart corner and there we go. 
Happy New Year!
Cheers- Linda xxx
Pin It Now!

Tuesday, 1 November 2011

1st Christmas

Every month we give away a free SVG - and this month the svg is a bauble containing the phrase "1st Christmas" - with a matching shadow bauble.
This svg is ideal for "Baby's First Christmas" cards, or even for people celebrating their first Christmas together. To give you some inspiration, here are a couple of ideas of what you can do with this free svg:


Hope you like them!
Mel x

Pin It Now!

Friday, 19 August 2011

Black Cat in the Window


This card was inspired by our Black Cat silhouette - it is available as a die cut pack or as an svg
I love this combination of colours and used our Birch Tree graphic image as the view from the window. 

Print it out straight onto your colour of choice depending on the time of day and mood you want to create. It could be blue skies, rainy day in grey or sunshine yellow.  Then cut it out with the Spellbinders Window die. Take out the panels of the window and put aside the frame to finish the card with. Then recut the window die in black switching the panels from the previous cut to form the view. Cut the corners also from the peach coloured window to create a pretty edge mounted on the inside .  I stamped it with a “Home is the place where our hearts belong” stamp and added a simple black bow.

Linda xxx
Pin It Now!

Monday, 8 August 2011

Have you ever wondered what cats and dogs think of snow?

Guess we will never know.
I designed this card with this in mind.

 Let's start with the snow, from an svg design of ours called “Snow Layer Small” cut out in black and laid over a white background as I love the contrast.
The curtained windows are also a new svg design which is proving to be very versatile. You can cut them out plain and ‘Zentangle’ them as I have or cut them from a really fancy patterned paper or flock which would give a real Victoriana feel.
Moving on this black ribbon is now in stock and I could not wait to use it and this felt like the perfect occasion.
The cat is yet another SVG called “Black Cat” which I obviously cut out in white.
To make the black rose simply fold the ribbon in half roll it around your finger and secure with a straight pin.
The larger white snow flakes are also available as an SVG.
I chose a simple sentiment, feeling that there was enough going on in the scene.
We would so love to see your interpretations of this card. Maybe with a snowman outside or children playing, possibly our carol singers, anything really you can imagine.
Have fun and don’t forget to let us know.
Linda x
Pin It Now!

Sunday, 22 May 2011

Tango Silhouette


Silhouette toppers are deceptively versatile. You can either cut them out on your digital die cutting machine (like the Cricut) or buy them ready cut.
I love the dancing shows that are always on tv at the moment, so for this card I chose an image of my favourite dance - the Tango! 
Although my first instinct is to cut a silhouette out in black, I thought it would be fun to see what I could do with different colours - and of course red is definitely the colour of passion - ideal for the Tango.
Once I had cut out the dancing couple, all I needed to do was die cut the circles and scalloped circles (using Grand Nesties) and mat and layer the shapes. I added some texture by embossing the black circle with the Floral Embossing Folder from Creative Expressions.
I needed something else to complement the dancers, so I die cut some swirls and Carnation Creations from Spellbinders for the flowers.
I kept the colours simple, just black, red and white so that the eye is drawn to the dancers.
This is a fun card and ideal for any fellow Strictly lovers!
Let me know what you think x
Pin It Now!